In Vego Inventory, a Region is a geographical area that can contain other regions and locations. Regions and Locations are a hierarchical organizational structure. Regions can be assigned to other regions for organized grouping of locations.
Relationship of Regions and Locations
Regions and Locations are structured in a Parent/Child relationship. A Parent/Child relationship is a collection of items arranged in a family-like structure where some items depend on others. The “parent” is an item that can have one or more “child” items connected under it. The children belong to the parent, meaning if the parent is moved, changed, or removed, the children follow along. For example, imagine a folder on your computer as the parent, and the files inside it as the children. If you move or delete the folder, all the files inside—its children—are also affected. This parent/child structure helps organize information and makes it easier to manage groups of related items together.
Accessing Region Settings
-
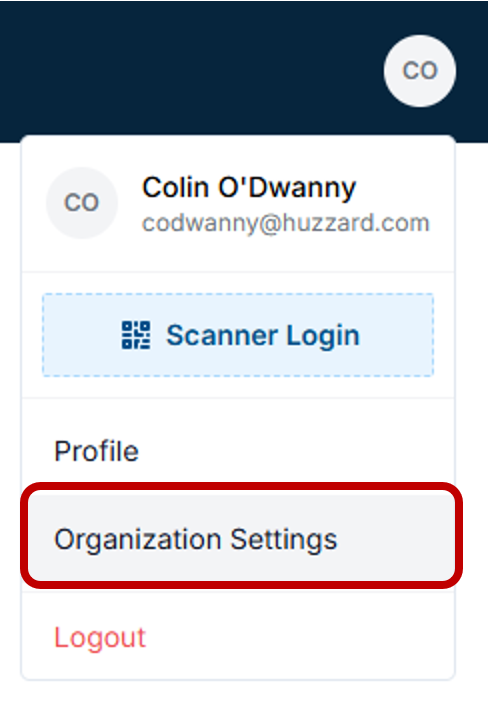
Navigate to the top right-hand corner of Vego Inventory, and click on the small circle with your initials

-
Click on “Organization Settings”
-
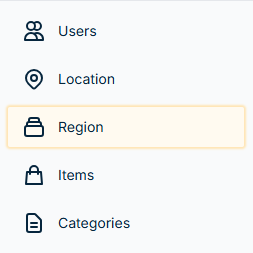
Click on “Region”
Creating Regions
-
Access Region settings. View Instructions Here
-
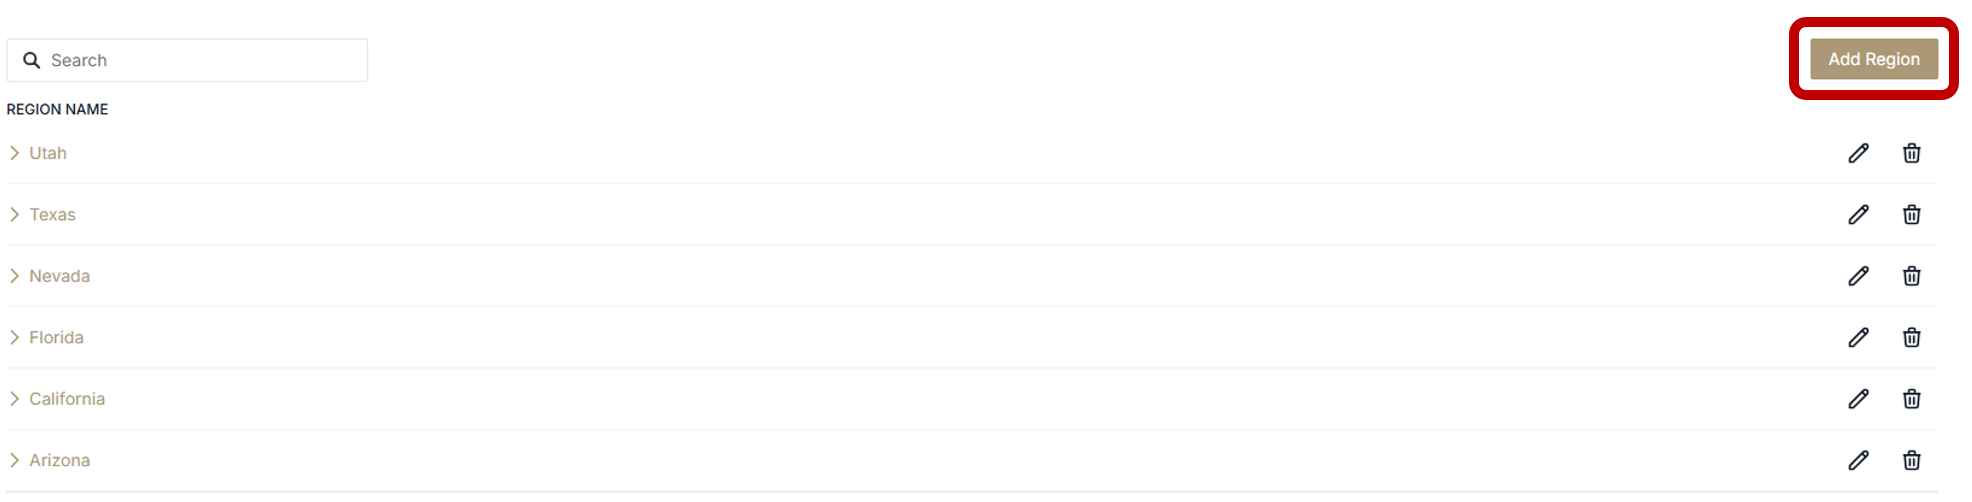
Click “Add Region”
-
In the pop-up menu, add the name of your new Region, parent region (if applicable), and all locations within that region
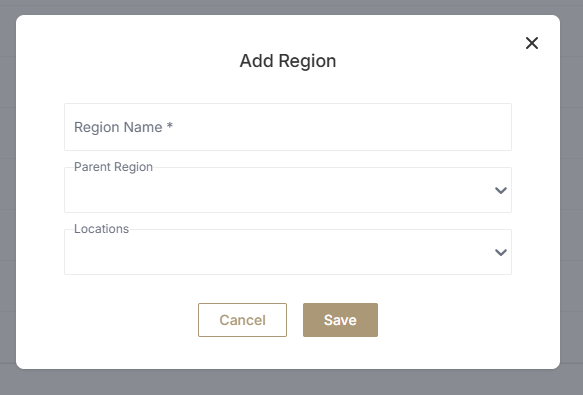
To add a region in the root directory, meaning the region has no parent regions, leave the “Parent Region” field empty.
-
Click “Save”
-
You have now successfully created a new region
Editing Regions
-
Access Region settings. View Instructions Here
-
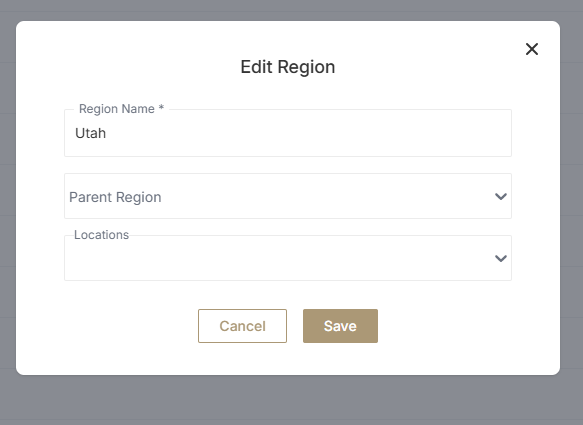
Find the region you would like to edit, and click on the pencil icon on the right-hand side of the menu

-
From this pop-up menu, you can change the name of the region, change the parent of the region, or change the locations that are within the region
-
When you are finished editing the region, click “Save”
Assigning Locations to Region
-
Access Region settings. View Instructions Here
-
To edit the locations of an existing Region:
-
Once in the region settings menu, find the region you would like to edit, and click on the pencil icon on the right-hand side of the menu
-
b. Click on the dropdown from within the pop-up menu, and select all locations to be added
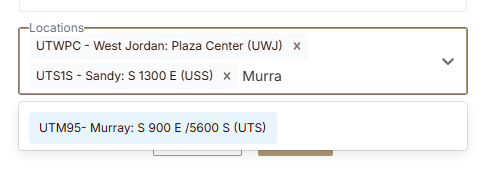
Do you have a lot of locations within your organization? Instead of scrolling through every location in the dropdown, you can search for the location as seen above.
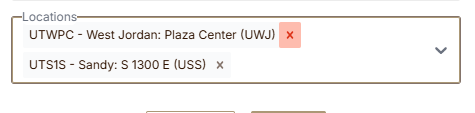
c. Locations can be unassigned from a region in this menu as well. Click on the small “X” near each location name that you would like to unassign.
-
Click “Save”
Deleting Regions
-
Access Region settings. View Instructions Here
-
Find the region you would like to delete, and click the trash can icon on the right-hand side of the menu

-
After clicking on the trash can icon, a message should pop up on your screen that says “Delete region successfully”
-
You have now successfully deleted a region