Vego Inventory offers a simple and efficient way to manage users across an organization. Administrators can easily add or remove users and update user profiles, including assigning roles, regions, and locations, directly from the Users menu.
Explore the following topics about Admin > Users features:
Access User Settings
-
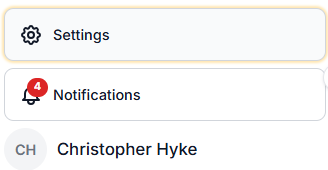
Navigate to the bottom left-hand corner of Vego Inventory, and select Settings
-
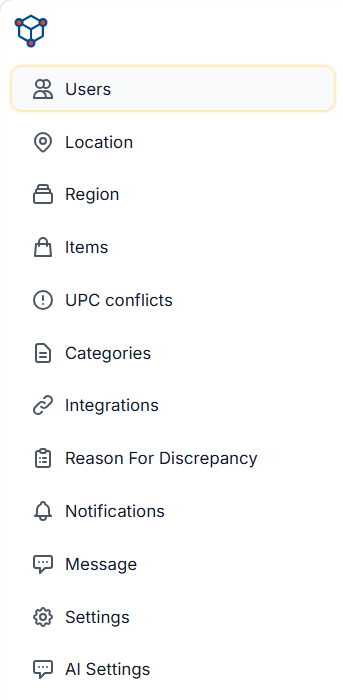
Navigate to the left-hand side of the screen, and select Users
-
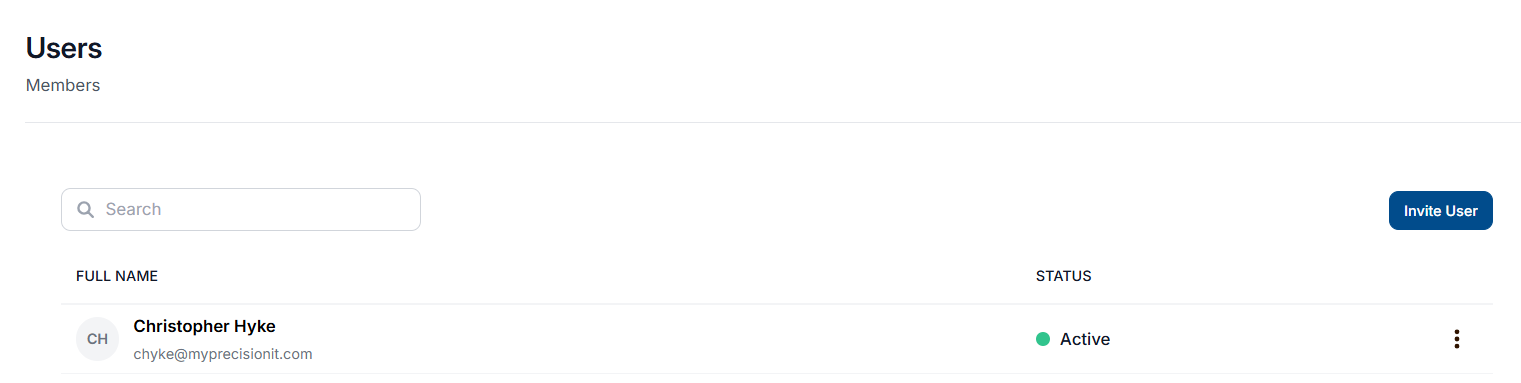
Once here, you will see all users who are present in your organization.
Add Users to Your Organization
-
Access User Settings page.
-
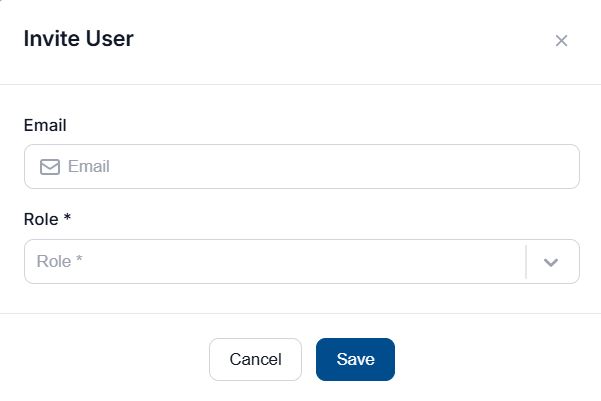
Select Invite User

-
A new pop-up window will appear similar to the one below:
-
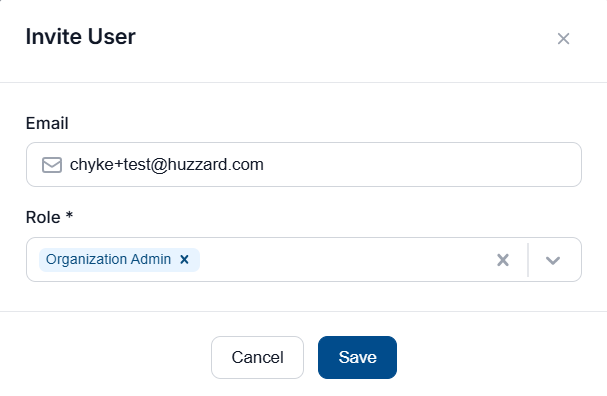
Select the Email field and enter a valid email address for the employee

-
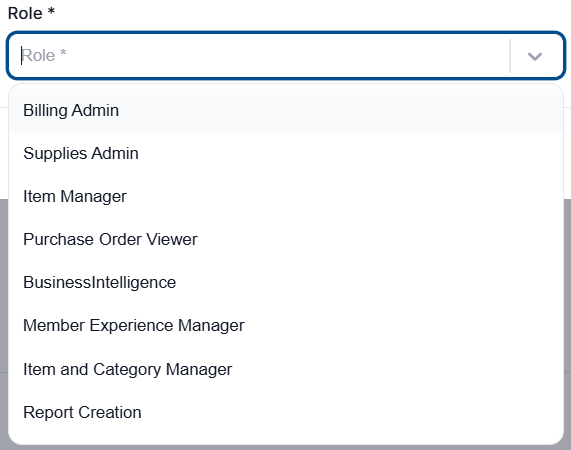
Select the Role dropdown and add any roles the user requires for their position
-
Select Save to create the user account
The employee will receive an email invitation to finish creating their account.
Edit User Permissions
Access User Permissions
-
Access User Settings page.
-
To refine the list of users in your organization, select the Search field and enter a full or partial name

-
Select the User’s name, or the three-dots to the right of their record and select View Details

-
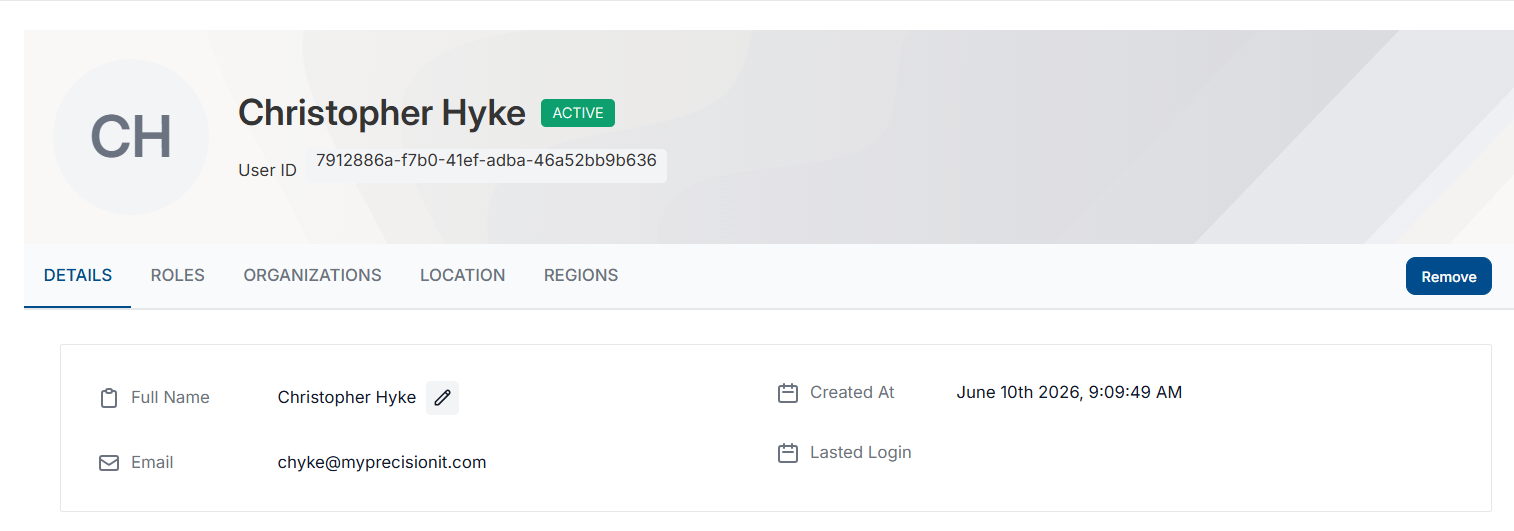
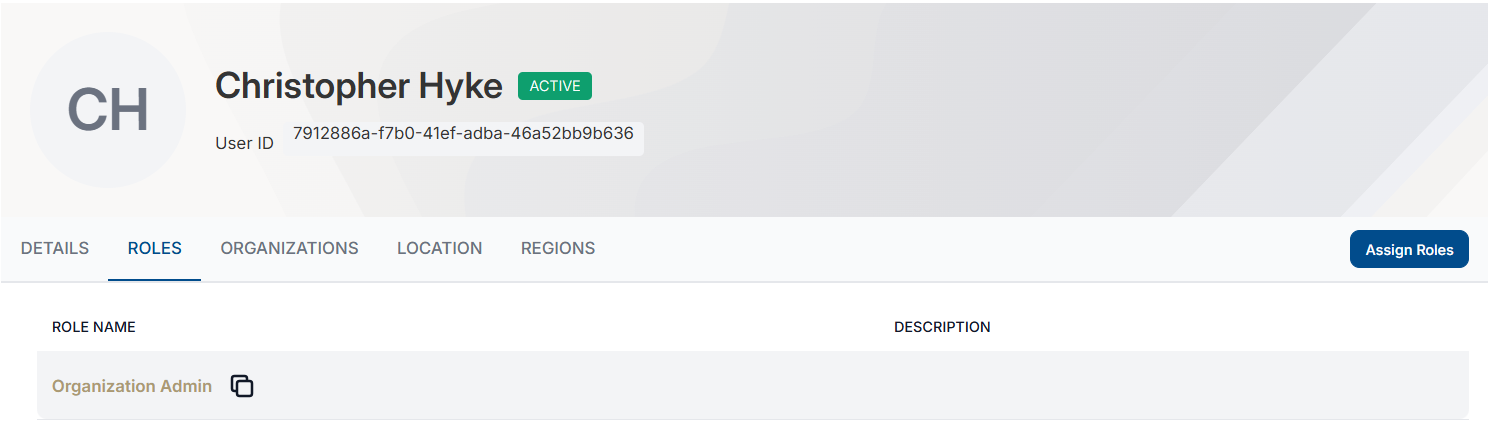
The user’s profile will open, similar to the one below:
Edit User Details
-
Verify that you are on the Details tab of the User’s profile

-
Select the Pencil icon next to Full Name to edit the User’s name

-
Select the First and Last Name fields and update the user’s name, then select the Arrow button to save the changes

Edit User Role(s)
-
Select the Roles tab at the top of the User’s Permissions page

-
A list of roles assigned to the user will display
-
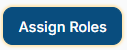
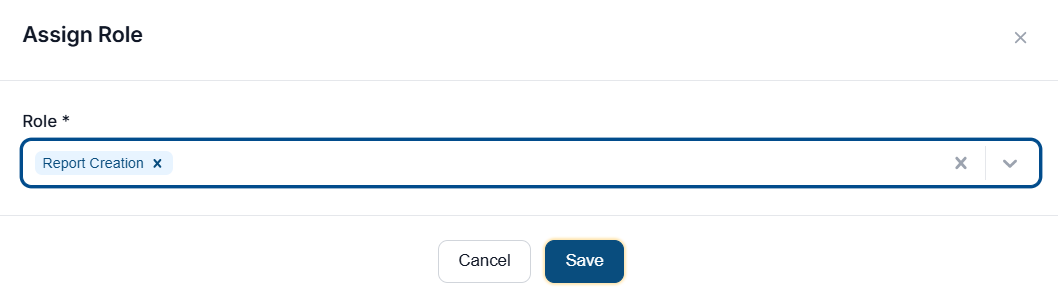
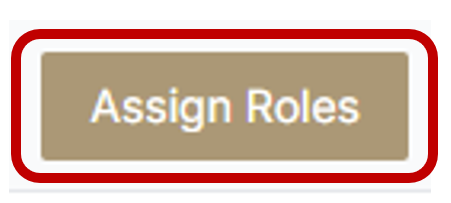
To assign a new role to the user, select Assign Roles
-
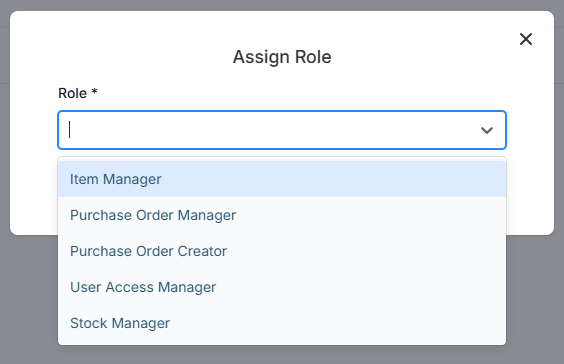
A new pop-up window will appear to assign user roles
-
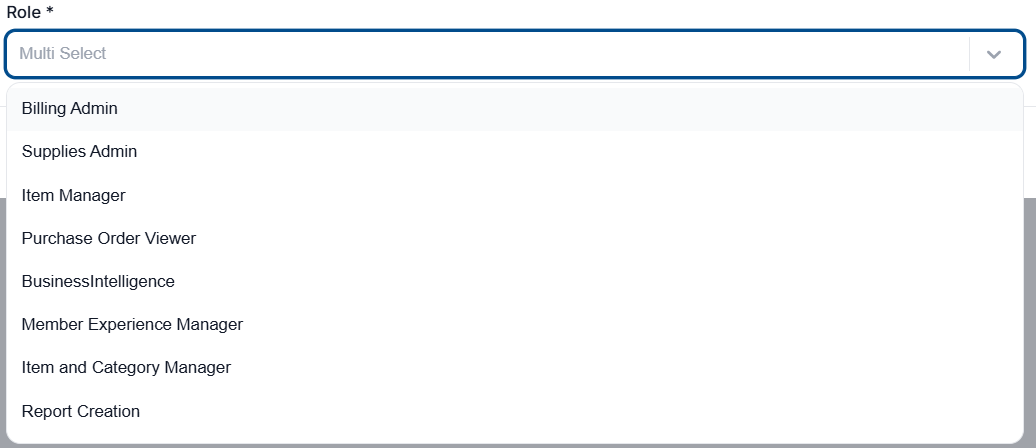
Select the Role dropdown menu, and select any roles the user requires
-
Select Save to apply the changes
-
To remove a role, select the Trash bin icon to the right of the role

If only one role is assigned to a user, the trash bin icon will not be available. Another role will need to be assigned before you can remove the previous one.
If you are attempting to remove a user’s access to the organization, see Remove a User from Organization
Assign Users to Location(s)
-
Access User Settings page.
-
Select “Location” in the middle menu.

-
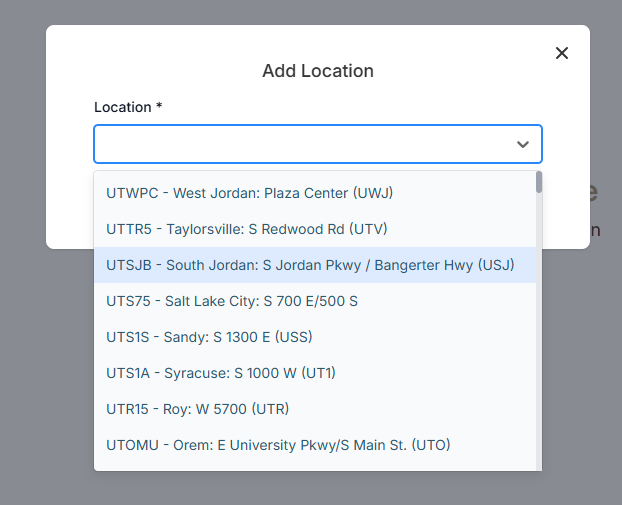
Click “Add Location” on the right-hand side of the screen
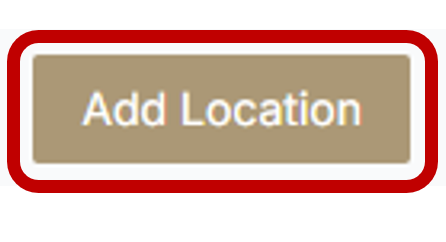
-
Click the dropdown menu and select the proper location
-
Click “Save”
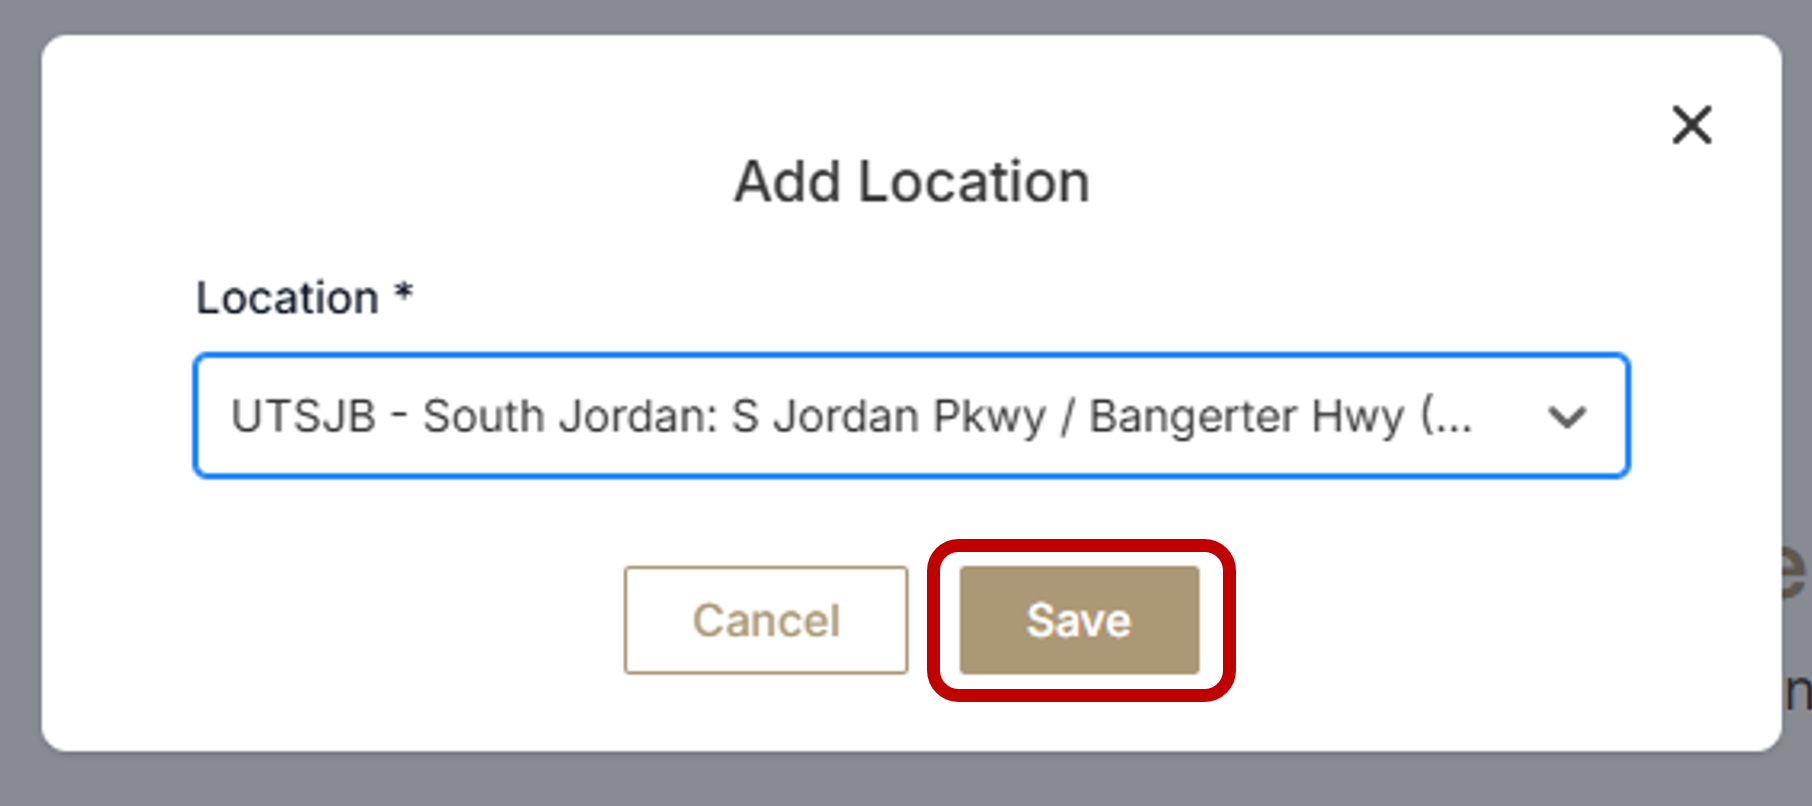
-
You have now successfully assigned a user to a location
Assign Users to Region(s)
-
Access User Settings page. View instructions here
-
Select “Regions” in the middle menu

-
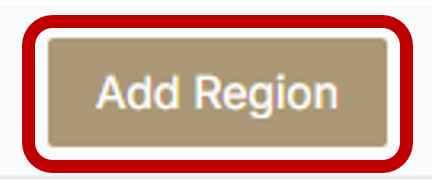
Click “Add Region”
-
Add all desired Regions
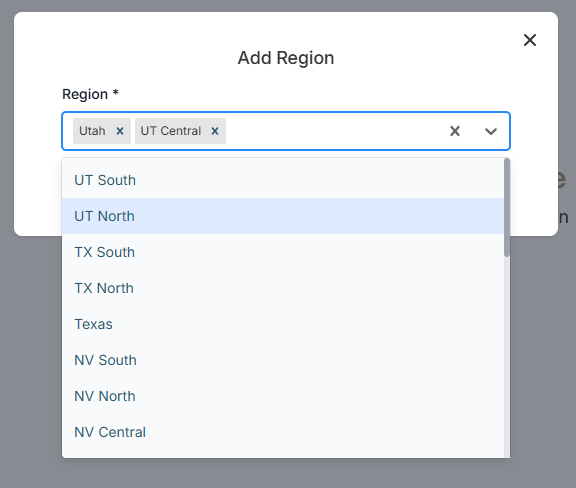
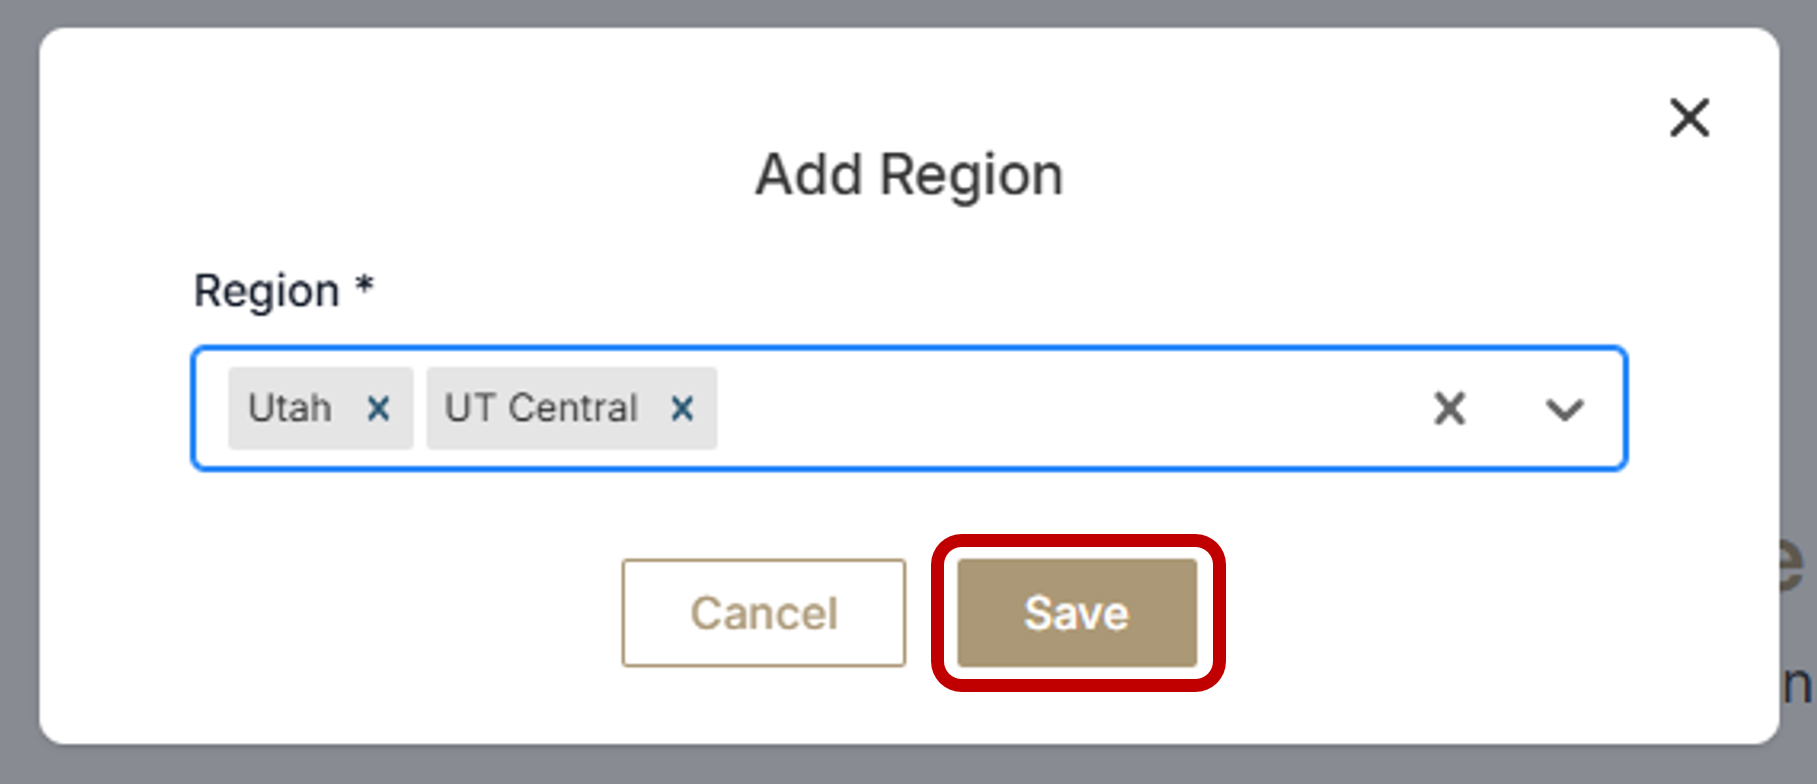
-
Click “Save”
-
You have now successfully assigned a user to a Region or Regions
Remove a User from Organization
-
Access User Settings page. View Instructions here
-
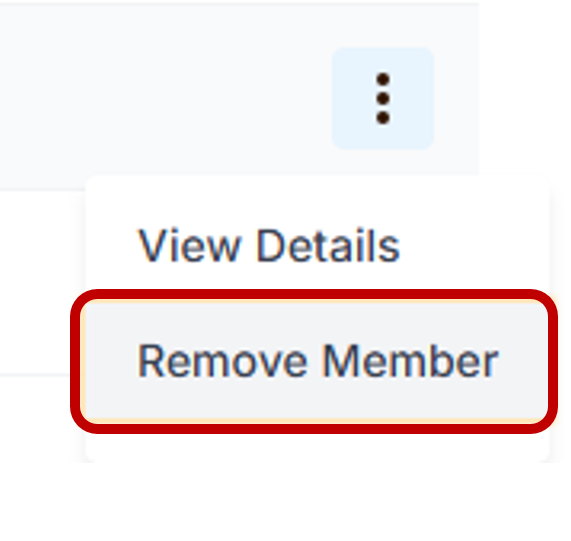
Locate the User you would like to remove. Click on the three dots that are located on the right-hand side of the screen that are associated with the user to be removed
Does your organization have a lot of users? Users can be searched using the search bar located directly above the list of users.

-
Click “Remove Member”
-
You have now successfully removed a user from your organization
User Role Management
-
Access Users Settings page. View Instructions here
-
Click on “Roles” in the middle menu

-
Once in this menu, you will have the ability to remove roles from users by clicking the trash can icon on the far right-hand side of the menu

-
To assign new roles, click on “Assign Roles” located on the far right-hand side of the menu
-
Click on the dropdown menu and select which role(s) you would like to assign to this user
-
Click “Save”