
In Vego Inventory, Items represent products to be sold. Each Item has a unique SKU and a unique set of UPC values. An Item can have many UPC values, but only one SKU. A Strawberry flavored drink and a Watermelon flavored drink, made by the same company, are two different Items. Items are grouped together by Categories
Accessing Items Settings
-
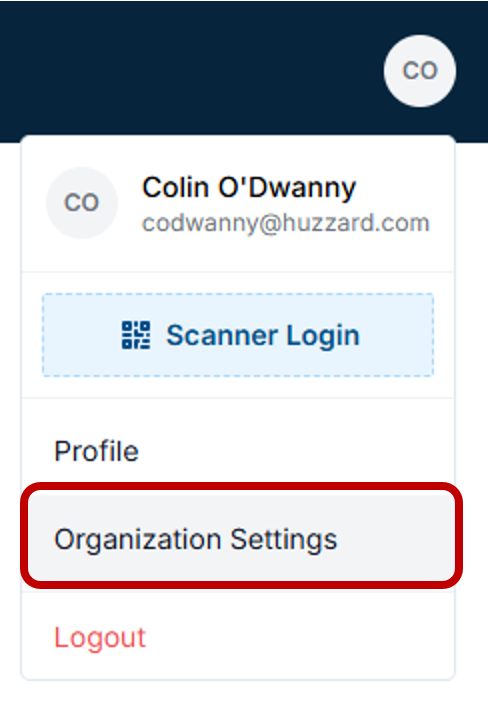
Navigate to the top right-hand corner of Vego Inventory, and click on the small circle with your initials

-
Click on “Organization Settings”
-
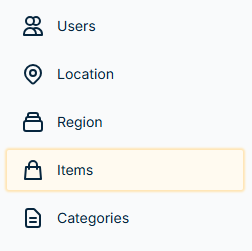
Navigate to the left-hand side of the screen and click “Items”
Understanding UPC’s
A UPC is a Universal Product Code. A UPC consists of a number and a barcode that uniquely identifies a product for sale. UPC codes are on nearly every product, and they are what get scanned at grocery stores when checking out.
One Item can have many UPC values. Because of this, Vego Inventory asks the user to denote one as the Default UPC. The Default UPC is what will appear when creating a purchase order, as seen below

Bulk UPC vs Individual UPC
Bulk UPC is a UPC code that can be found on the outside of cases of product.
Individual UPC is a UPC code that can be found on the outside of individual units of product.
Example: A case of bottled water is received. The Bulk UPC can be found on the outside of the case. Individual UPC codes can be found on the individual water bottles
Proper Unit Cost Calculation
Unit cost is calculated by dividing the Case Cost by the Default UPC’s quantity. Because of this, the Default UPC must be a bulk UPC
Understanding SKUs
A SKU, or Stock Keeping Unit, is a static value that is assigned to an item and never changes. A SKU is generally a value that is not defined by the manufacturer, but instead by the distributor or wholesaler. This is the value that they utilize to identify a product throughout their systems.
Products can only have a single SKU value. If multiple “SKUs” are needed, it is possible to be confused with a UPC
In Vego Inventory, a SKU is utilized mainly for purchase order creation and sending. This ensures the end user knows exactly what items are being purchased.
If an item is being added to Vego Inventory but the SKU of the item is unknown, it is recommended to contact the vendor to receive this information.
Adding Items
-
Access Items Settings. View instructions here
-
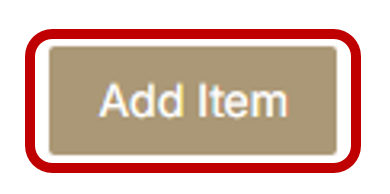
Navigate to the upper right-hand corner of the menu, and click the “Add Item” button
-
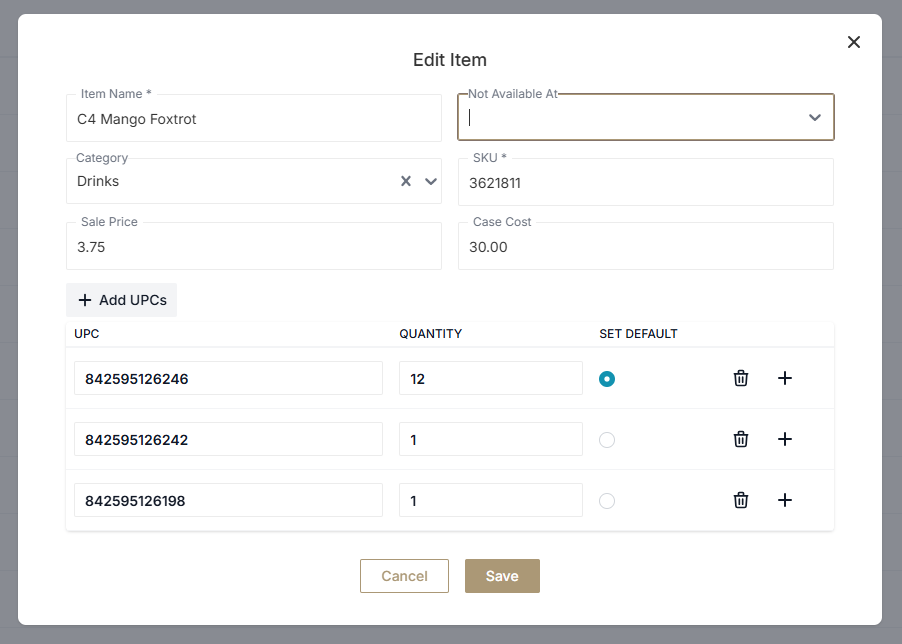
In the pop-up menu, fill in all the details associated with the new item.
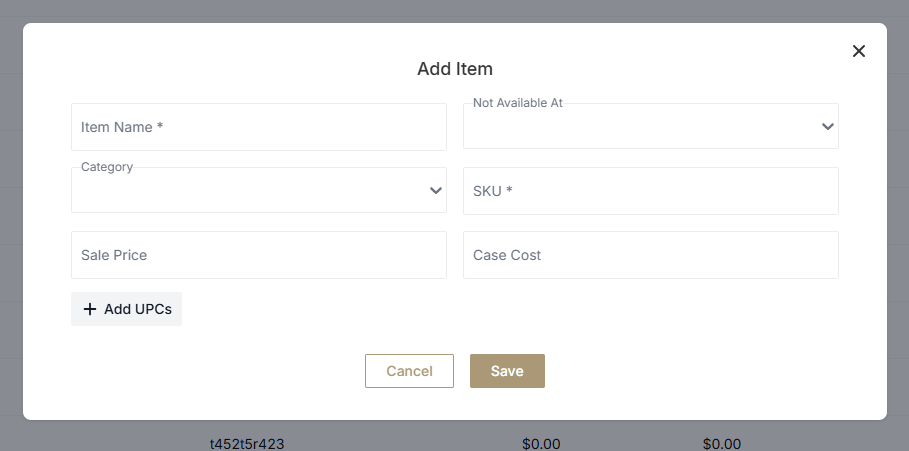
Below is a table of all available fields when creating an Item
|
Field Name |
Description |
|---|---|
|
Item Name |
Item name will display whenever interacting with the Item |
|
Not Available At |
The values passed into this field will be Regions. Clubs within the selected regions will not be able to add this item to a purchase order. If field is left blank, all regions can order this item |
|
Category |
Categories are a way to group Items together. Bottled water could belong to a category named “Drinks” |
|
SKU |
A SKU is a unique identifier for every item. Every Item has one SKU and every SKU belongs to one Item |
|
Sale Price |
The price your customers pay when purchasing one unit of the product |
|
Case Cost |
Cost of purchasing a case from your distributor/vendor |
|
UPCs |
A unique value used to identify the product by the manufacturer. UPC values are what is decoded when a barcode is scanned. When creating an item. Ensure that the Default UPC is a Bulk UPC. This is required for proper unit cost calculations |
-
Once you have filled in all the fields, click Save
-
You have now successfully added an Item
Editing Items
-
Access Items Settings. View instructions here
-
Find the Item you would like to edit, and click the pencil icon on the left hand side of the menu.

-
In the menu that pops up, make the changes you would like, and then click “Save”
Below is a table of all available fields when editing an Item
|
Field Name |
Description |
|---|---|
|
Item Name |
Item name will display whenever interacting with the Item |
|
Not Available At |
The values passed into this field will be Regions. Clubs within the selected regions will not be able to add this item to a purchase order. If field is left blank, all regions can order this item |
|
Category |
Categories are a way to group Items together. Bottled water could belong to a category named “Drinks” |
|
SKU |
A SKU is a unique identifier for every item. Every Item has one SKU and every SKU belongs to one Item |
|
Sale Price |
The price your customers pay when purchasing one unit of the product |
|
Case Cost |
Cost of purchasing a case from your distributer/vendor |
|
UPCs |
A unique value used to identify the product by the manufacturer. UPC values are what is decoded when a barcode is scanned. When creating an item. Ensure that the Default UPC is a Bulk UPC. This is required for proper unit cost calculations |
-
You have now successfully edited an Item
Adding UPCs to an Item
-
Access Items Settings. View instructions here
-
Find the Item you would like to edit, and click the pencil icon on the left hand side of the menu.
-
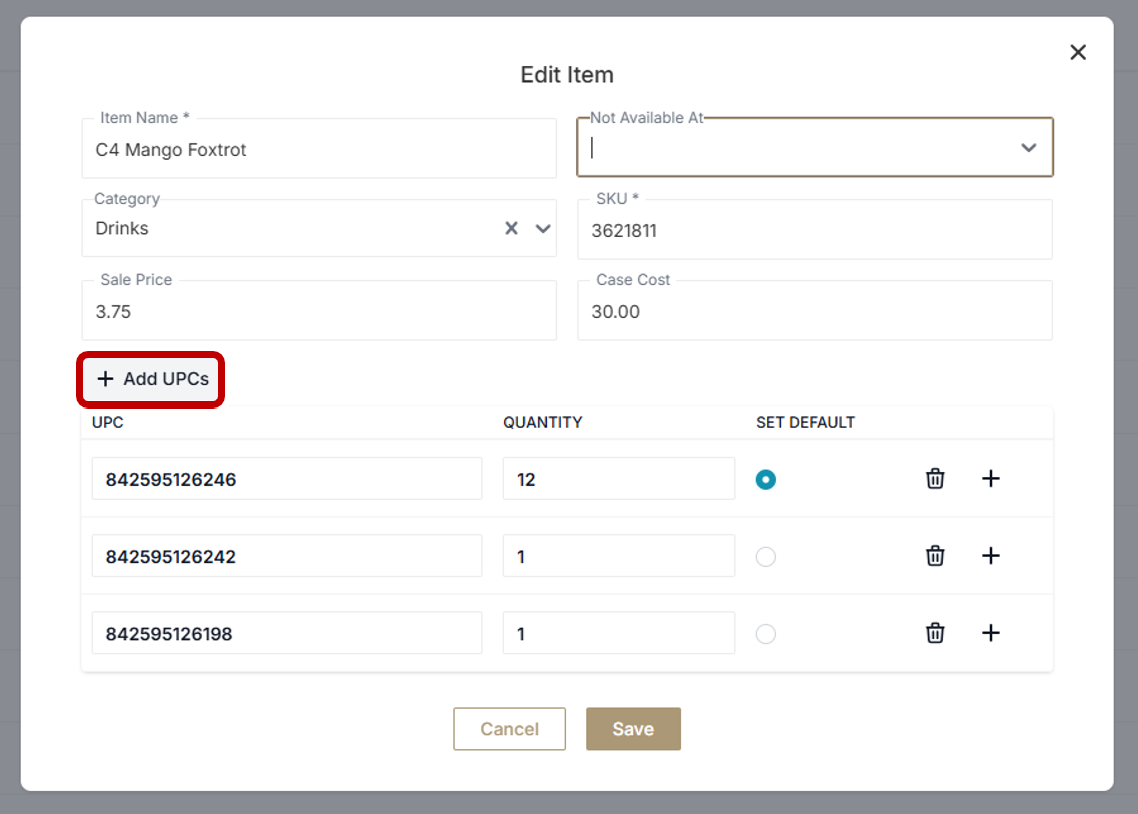
In the menu that pops up, click Add UPCs
-
A blank UPC field will appear. Enter in the UPC value and quantity
a. UPC values can often be found underneath 1D barcodes. As seen below
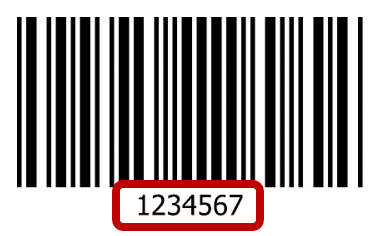
b. Quantity is how many units came within that packaging. So if the UPC is found on a case of product, this is known as a bulk UPC, the quantity will be however many units are found within the case. If the UPC is found on an individual product, like a single bottle of water the quantity is 1.
-
Click Save
Merging Items
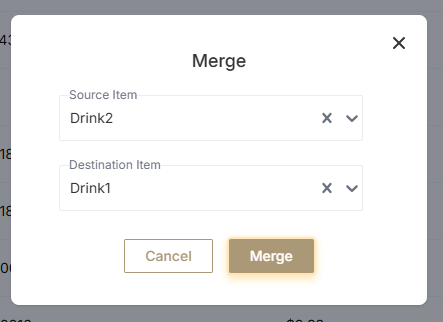
Merging Items combines the UPC’s, and stock levels, of two items together, and assigns them to one Item. If Drink1’s UPC is 123, and Drink2’s UPC is 456 and they are merged into Drink1, both 123 and 456 will now correspond to Drink1. The stock levels of Drink2 will be combined with the stock levels of Drink1. After all the data from Drink2 is transferred over to Drink1, Drink2 is deleted.
Source Item: The Source Item’s UPCs, stock levels, and history will be added to the Destination Item. All other data relating to the Source Item will be deleted after a Merge. In the scenario above, Drink2 is the Source Item
Destination Item: After a Merge, the Destination Item will be updated with the new UPCs, stock levels, and history from the Source Item. In the Scenario above, Drink 1 is the Destination Item
Why is Merging Helpful?
Merging is Helpful because manufacturers regularly change the UPCs on their products. A manufacturer could have been using the UPC 123 for a bottle of water for years, and suddenly they change the UPC to 234 without warning to any customers.
When Vego Inventory encounters a UPC that is not already in the system, it creates a new Item. In the case of changing UPCs, this means there are two Items in Vego Inventory that represent the same bottled water, and potentially have the same name. A Merge is used to rectify this problem.
To Merge Items:
-
Access Items Settings. View instructions here
-
In the upper right hand corner of the menu, click “Merge”
-
In the pop up menu, select the Items you would like to Merge
A Merge will cause the UPCs, stock levels, and history of all Locations with these Items to change
-
You have now successfully Merged two Items
Troubleshooting “Items”
Item UPCs are Scanning with Incorrect Values
-
Access Item Settings. View instructions here
-
Find the Item you would like to edit, and click the pencil icon on the left hand side of the menu.
-
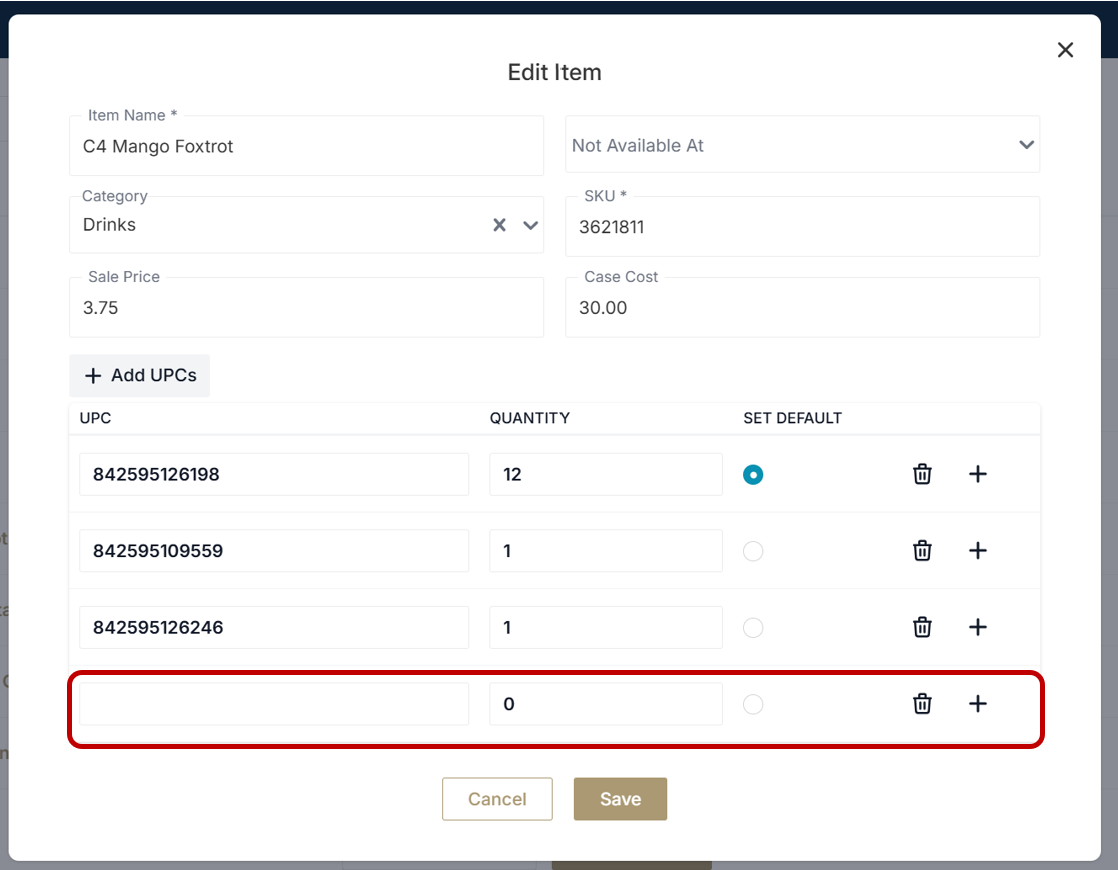
In the menu that pops up, verify the QUANTITY value for each UPC
UPCs with the QUANTITY set to 0 will revert to the Default UPC quantity when scanned.
The Default UPC is usually the Bulk UPC for cases of the item, so it will likely be different than the intended quantity.
-
If the UPC quantities are correct, and the values are still scanning incorrectly, contact Vego Inventory Technical Support for assistance.