
Providing Screenshots and Recorded Videos
Providing videos and screenshots to us at Vego Inventory can help us troubleshoot any issues that you may experience.
Taking Screenshots via the Snipping Tool
-
On Windows, press the “Windows”, “Shift” and “S” keys at the same time.
-
Your screen will dim, and your cursor will turn into a crosshair.
-
Select the area of your screen that you wish to capture.
Recording Video Via the Snipping Tool
-
On Windows, press the “Windows”, “Shift” and “R” keys at the same time.
-
Your screen will dim, and your cursor will turn into a crosshair.
-
Select the area of your screen that you wish to capture during the recording.
-
Select Start on the toolbar at the top of your screen.
-
Record the behavior you wish to report.
-
Once you are done, select the red square on the toolbar to stop the recording.
For additional instructions, follow the Microsoft knowledge base article: Use Snipping Tool to capture screenshots - Microsoft Support
Purchase Order Errors
Request failed with status code 400
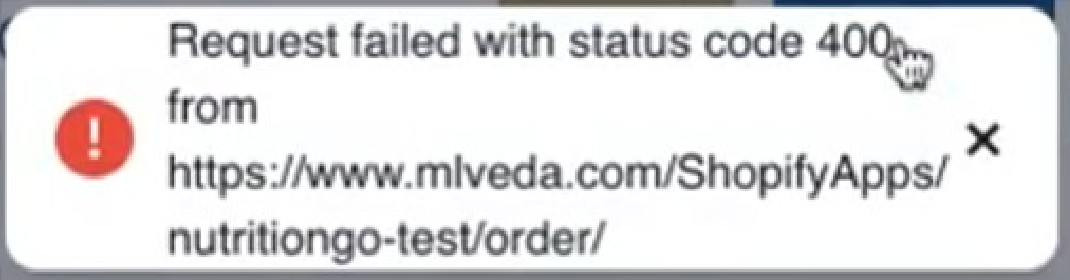
The error message “Update purchase order fail” will likely display alongside this one.
This error is one that we at the Vego Inventory team will need to resolve. In order to efficiently resolve the issue, we will need information that you can obtain by:
-
Clicking on the “Request failed with status code 400” error
-
This will display a pop-up similar to the following:
-
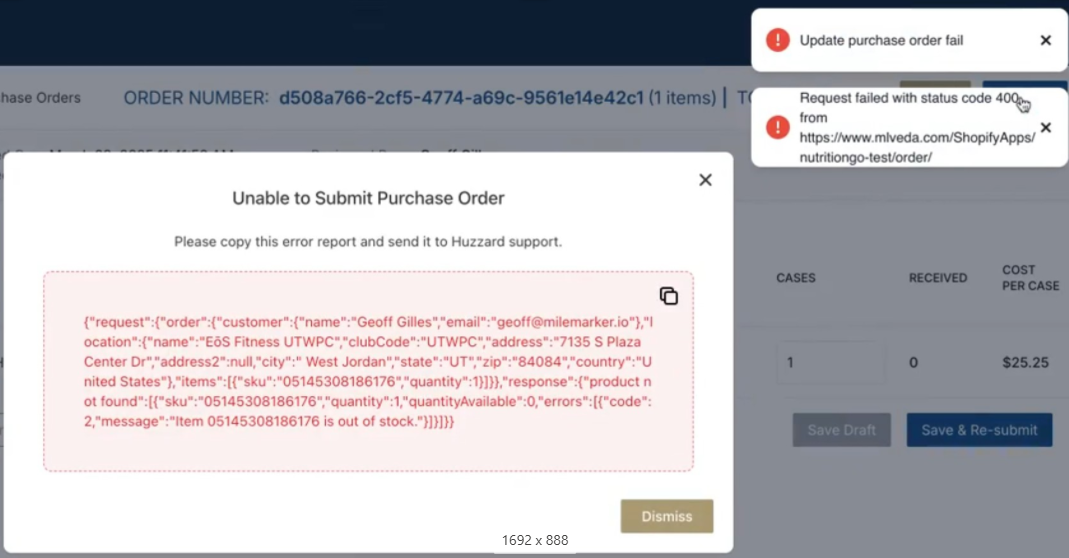
-
Click on the copy button on the top right of the red box
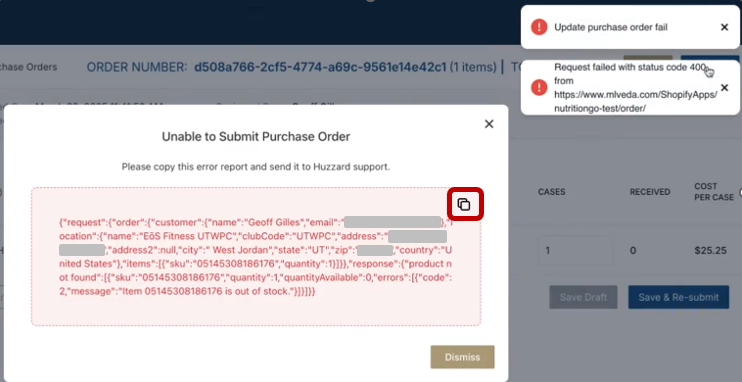
-
Create a ticket with us for the error with the Vego Inventory support form, and send us the copied text alongside any other details of the error that you are seeing
-
This will help us determine the root cause of the issue and get your problem solved as quickly as possible.
-
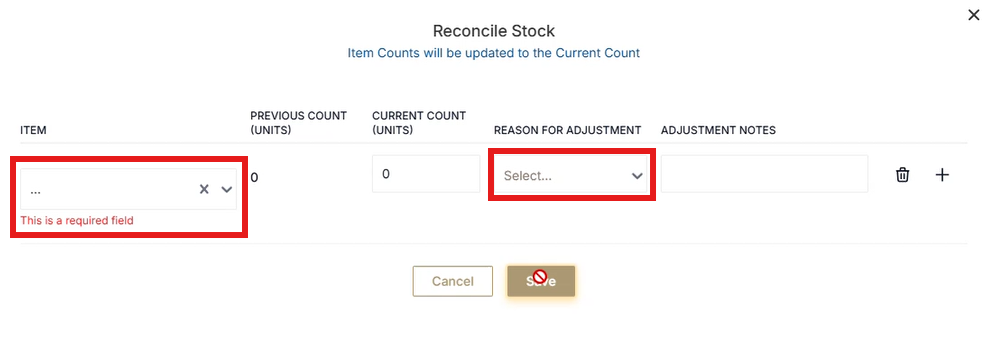
Manual Reconciliation Shows a “Red Circle with a Line Through it” When Attempting to Save
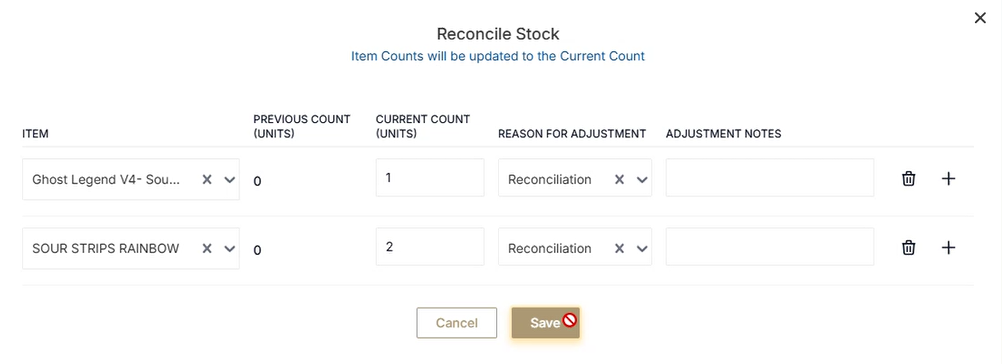
This means that the save button got disabled and can have one of two reasons:
-
An “Item” and/or “Reason for Adjustment” field was empty when first selecting “Save”
-
The “Save” button will remain disabled, even after filling in the required fields
-
To resolve, exit out of the “Reconcile Stock” pop-up and begin a fresh Manual Reconciliation
-
-
At some point during the manual reconciliation, the internet connection was lost.
-
The “Save” button will remain disabled, even after the connection is restored
-
To avoid this, use the Android device in places where the internet connection is reliable
-
-
To resolve, exit out of the “Reconcile Stock” pop-up and begin a fresh Manual Reconciliation
-